

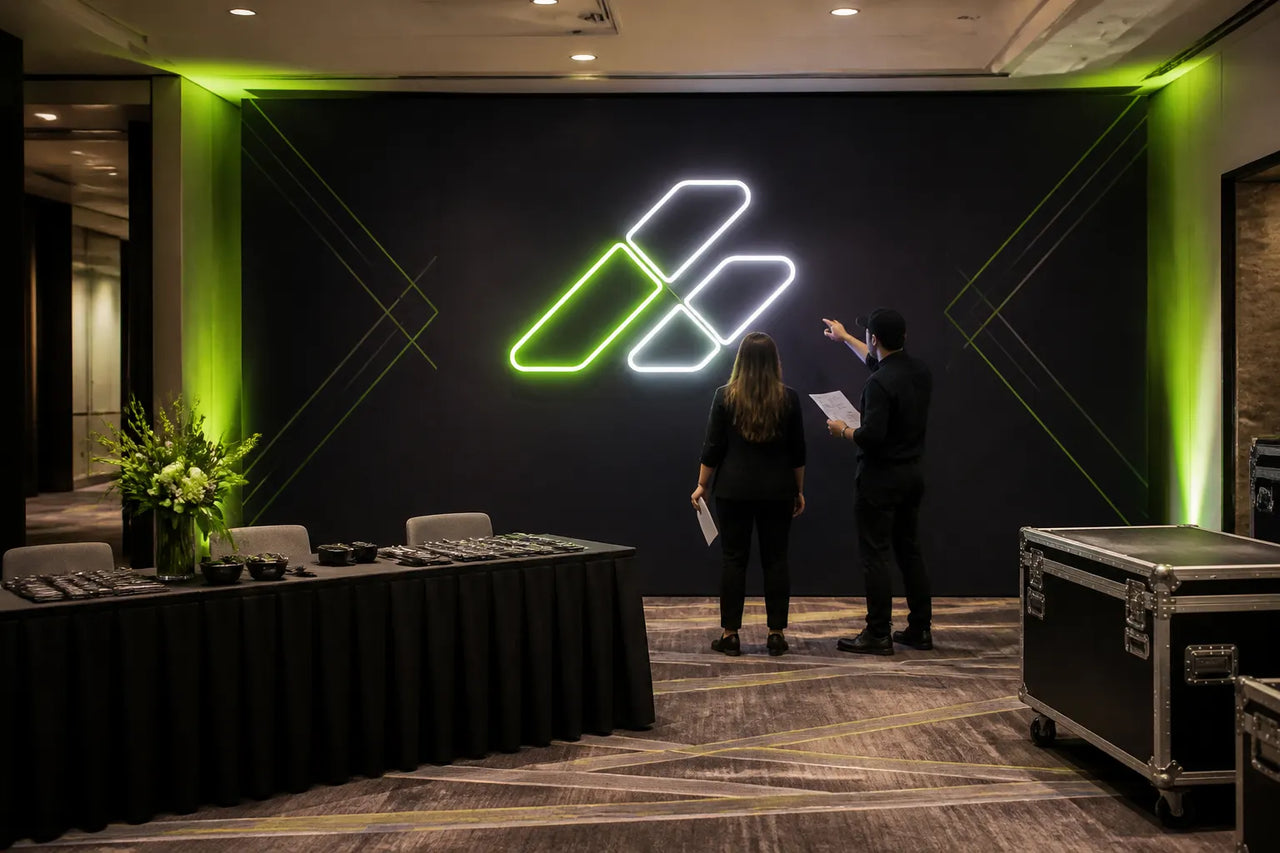
Corporate event signage has to do more than fill a wall. It helps guests find the right room, confirms the brand behind the experience and creates a visual moment people want to photograph. The best results come from treating signage as part of the event plan, not as a final decoration.
This timeline is designed for Canadian marketing teams, event planners and agencies preparing conferences, launches, award nights, office events and brand activations. It focuses on illuminated logo and message signs, including custom LED neon, while also showing where directional and printed graphics belong in the plan.
Start with the installed-and-tested deadline
The doors-open time is not the delivery deadline. Work backward from the point when the sign must be mounted, powered, inspected and available for lighting or camera tests. Record separate dates for proof approval, production completion, arrival, installation and the public event. This protects time for venue access, unpacking and corrections instead of asking every stage to finish on the same day.
Use the current project quote for production and delivery commitments. The custom neon sign deadline guide explains how to separate controllable approvals from production, quality control, transit and installation. The week ranges below are planning checkpoints for a typical event workflow, not a guaranteed ENS turnaround time.
Separate the brand moment from required wayfinding
An illuminated logo can anchor a stage, registration wall or photo area, but it should not replace emergency, accessibility, room-identification or operational signs. List every sign the event needs, then identify which pieces are decorative brand assets and which must follow venue or regulatory requirements.
A simple sign register prevents gaps. For each item, record its exact message, purpose, location, dimensions, artwork owner, mounting method, power need, approval status and responsible installer. This also reveals when a printed directional sign is more useful than an illuminated one.
Eight to twelve weeks before the event: define the job
Start with the purpose of each sign. A stage logo needs to remain readable across a room. A welcome sign works at closer range. A photo-area sign must sit clearly within a camera frame without disappearing behind guests.
Record these details before requesting a quote:
- event date and venue city
- installation and removal windows
- approximate wall, stage or booth dimensions
- viewing distance and expected camera angles
- venue rules for mounting, power and rigging
- whether the sign will be reused after the event
- the final logo file, brand colours and approved wording
If your sign is part of a larger activation, review our corporate event and brand activation signage options. The page explains how illuminated signs fit stages, media walls, sponsor areas and guest experiences.
Six to eight weeks before the event: confirm design and construction
Provide vector artwork when possible. AI, EPS, SVG and print-ready PDF files are easier to scale accurately than screenshots or small web graphics. If the logo includes very thin details, gradients or tiny text, ask which elements will translate clearly into illuminated tubing, UV print or a layered sign.
At this stage, choose a construction method based on the visual goal rather than the trendiest label:
- LED neon creates bright, continuous lines and works well for wordmarks, scripts and simplified symbols.
- UV-printed details with LED neon can preserve colours and fine artwork that cannot be formed as a lighted line.
- Backlit or dimensional letters create a more architectural look for a stage, office or permanent branded wall.
Review the mockup at the actual planned size. A logo that looks balanced on a laptop can feel small on a six-metre stage. Ask for the dimensions in inches or centimetres and map them onto the venue photo or floor plan.
Assign one final approver before proofs circulate. Ask brand, event-production and venue contacts to consolidate their comments into one response. Conflicting revision threads can delay a simple sign more than the physical build.
Four to six weeks before the event: solve power, mounting and transport
Do not leave installation details to show day. Confirm the nearest outlet, cable path and the surface behind the sign. Event venues may restrict drilling, adhesives, overhead suspension or access to rigging points.
For temporary events, common mounting options include a freestanding frame, clear line, removable hardware or attachment to an approved booth structure. The right method depends on the sign weight and venue rules. Any overhead or structural installation should be approved by the venue and handled by a qualified installer.
Plan how the sign will travel. Reusable packaging matters if the sign is moving between Toronto, Ottawa, Montréal, Calgary, Vancouver or smaller regional events. Label the power supply, controller and mounting hardware so the event team can identify every part quickly.
If your display has to move repeatedly, compare our trade show and pop-up signage and bulk signage for multi-location campaigns.
Confirm where cases and packing materials will stay during the event. If the venue removes empty cases from the room, label them with the event, room and return contact. Repacking is part of the plan when the sign will be reused.
Two to four weeks before the event: test the real experience
Test the sign before packing it. Turn it on, photograph it in a bright room and a dim room, and confirm that the controller, dimmer and power supply work together. If the sign will appear on camera, record a short phone video to check for flicker or exposure problems.
Build a simple installation sheet with:
- a photo of the completed sign
- the intended orientation
- the mounting points
- the power connection
- the controller or dimmer instructions
- the contact person for questions
Share the sheet with the venue and on-site production lead. This reduces interpretation during a tight setup window.
Run one failure drill before shipping: identify the contact for a missing bracket, damaged package, unavailable outlet or delayed courier. The answer may be a spare cable, alternate approved stand, local installer or a printed backup graphic. A contingency should preserve safety and brand clarity; it should never encourage improvised rigging or electrical work.
The week of the event: protect time for setup
Assign one person to own the sign from delivery through strike. That person should know where the packaging, hardware and power components are stored. Schedule the illuminated sign early enough that lighting and camera teams can assess it before guests arrive.
During setup, check three views:
- the first view guests see when entering
- the widest audience or camera view
- the close photo or interview view
A dimmer is useful because the brightness that attracts attention in a busy lobby may be too strong behind a speaker or in a photo area. Secure cables and keep controls out of guest traffic.
After the event: make the sign earn its storage space
Reusable event signage should have a next destination before it goes back into a case. A logo sign may move to a reception area, showroom, content studio or future trade show. A generic campaign message can support several launches if the surrounding graphics change.
Photograph the final installation and save the exact settings that worked. Note any mounting or transport problems while they are fresh. These details become a better brief for the next event.
Corporate event signage checklist
Before approving production, confirm:
- the message is readable at the intended distance
- the artwork and colours have final brand approval
- the physical size fits the venue and camera frame
- the mounting method is permitted
- the power source and cable path are known
- the setup and removal windows are realistic
- the packaging supports safe return transport
- the sign has a planned use after the event
EasyNeonSigns builds custom illuminated signs for Canadian business events, launches and activations. Request a custom signage quote with your event date, city, artwork and installation details, or start with our commercial signage hub to compare options.
